

The bonding of laminates to plywood should ideally result in a smooth, bubble-free surface for the durability, appearance, and overall quality of your final product. This process needs to be perfect-whether you’re trying to finish up furniture, cabinetry, or any other wood-laminate surface-to avoid costly mistakes or aesthetic defects.
This article follows the steps for standard laminate bonding on plywood bonding with tips on avoiding bubbles. I will also mention a great solution in case of bubbles so that you can make a perfect bond every time
1. Standard Operating Procedure Before Application:
Surface preparation and material should always be done prior to the bonding process. Follow the steps given below to make sure that there will be no air pocket or bubbles between the laminate and plywood after it has adhered perfectly:
Step 1: Preparation of Surfaces
- Clean the surfaces: Ensure that the laminate and the plywood contain no oil, grease, dust, dirt, or any kind of impurities that could be harmful to bonding. Both the surfaces shall be clean and dry.
- Control moisture: The Moisture content of the plywood shall not be more than 12% to reduce swelling or shrinkage later on. The laminate to be used for better performance must comply with the standard IS 2046:1995.
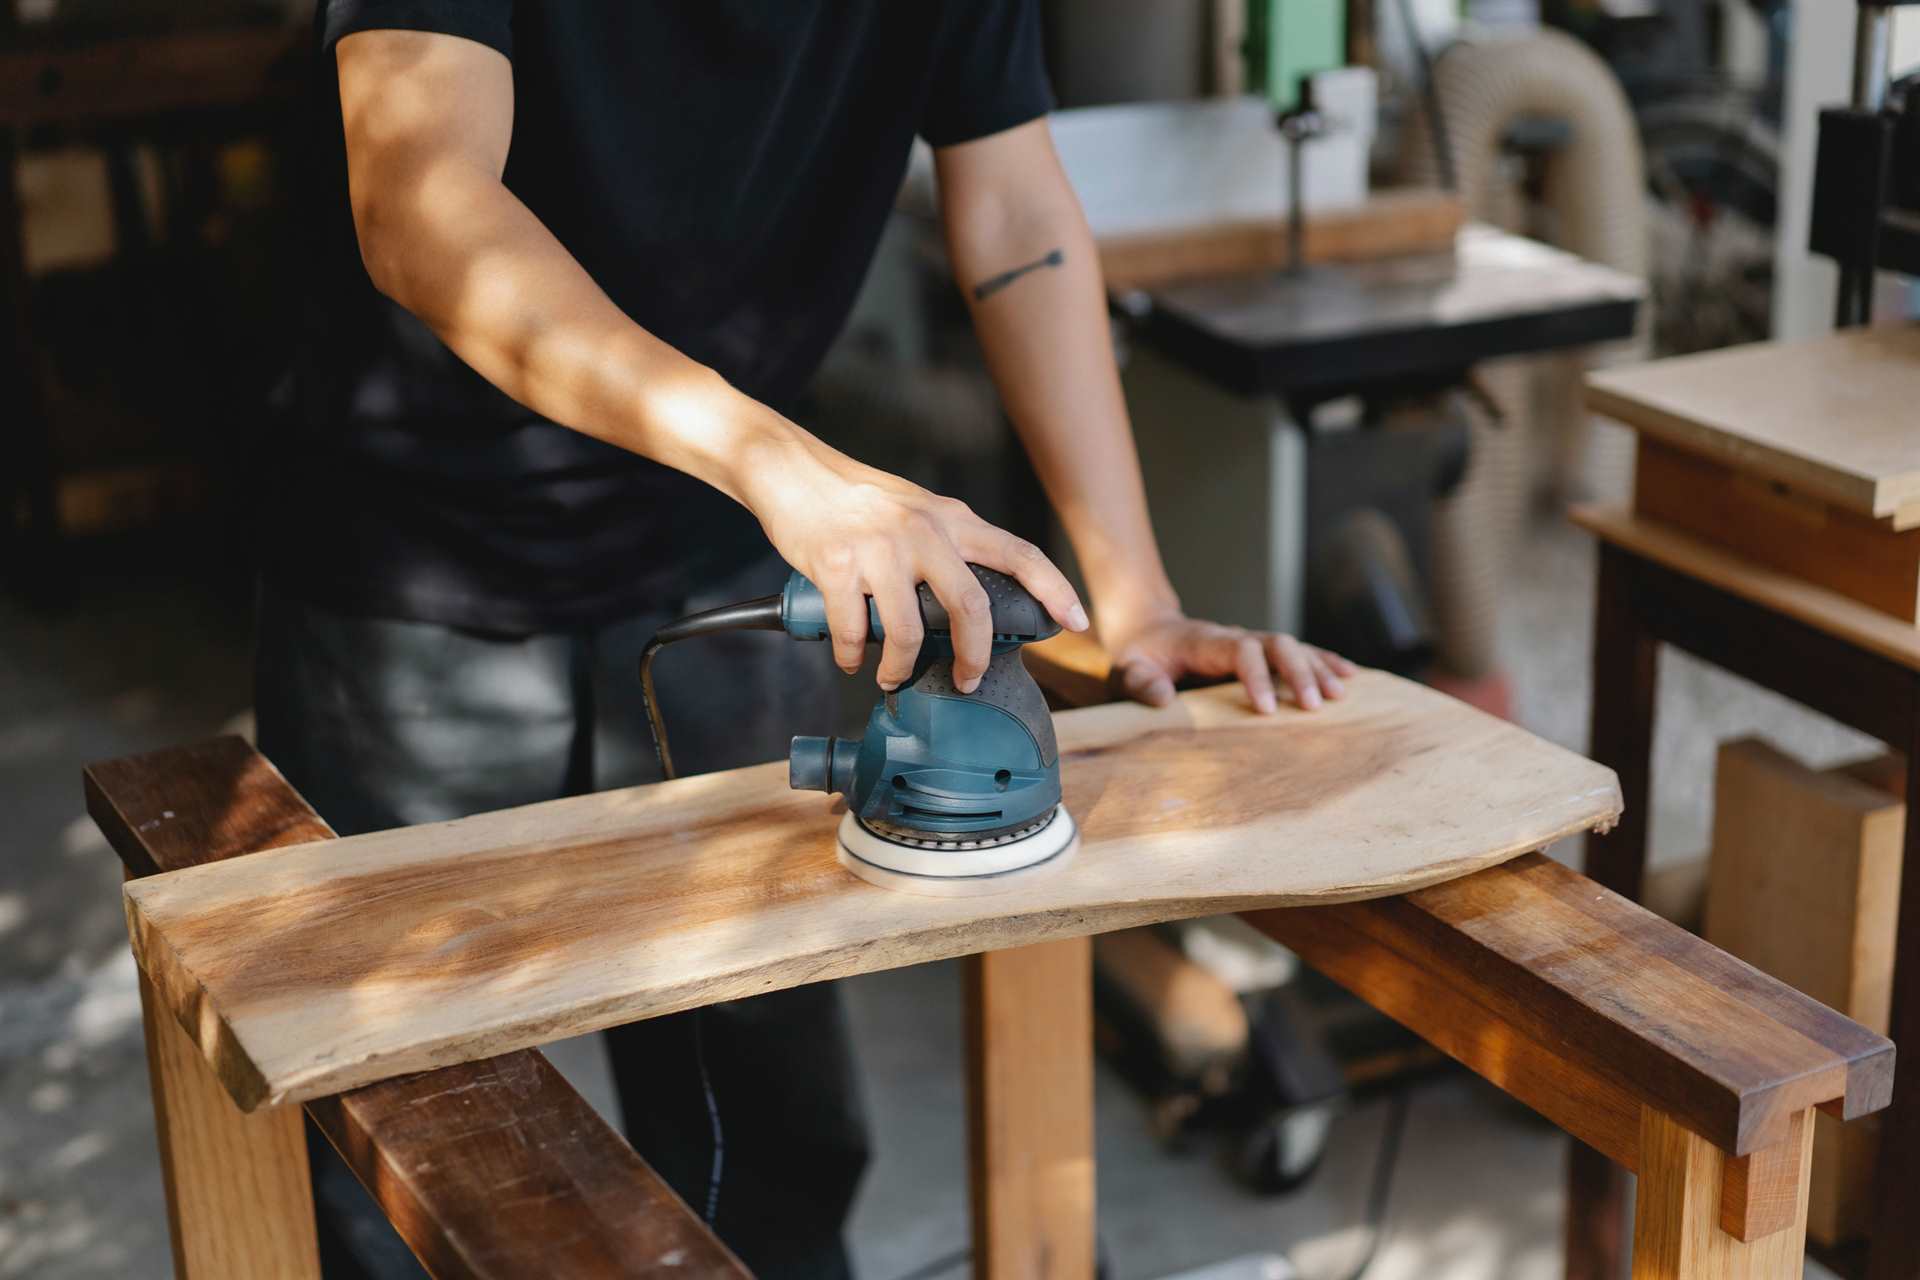
- Sanding: The plywood and the laminate have to be lightly roughened or sanded on the back side for better attachment. This step also makes the surface textured and will also enhance the bonding of the materials.
Step 2: Prepare the Adhesive
- Shake up the adhesive: The glue might come in a drum, jar, and any other type of container. Always shake the adhesive before its application well using a clean rod or wooden stick to ensure it is well mixed and free from separation.
Step 3: Application
- Apply the glue in the correct sequence: Let a uniform coat of glue be applied on the non-porous surface, the laminate, and let the porous surface, the plywood, also receive the same. This sequence is important for better bonding.
- Apply with the right tools: Always use a plastic notched spreader available and a roller from the adhesive manufacturing companies. Laminate pieces, wooden sticks, or brushes must not be used, as it will result in the spreading of globs or irregular formations and improper bonding.
- Climate considerations: Depending upon the climate, the adhesive can be applied and drying time may take place. Check your adhesive product’s guideline for application in specific climates-for example, monsoon and summer conditions.
Step 4: Pressing the Laminate
- Remove air bubbles: Place the laminate flat from one side onto the plywood. Using a wet squeezed cloth, press it into place. Press the laminate in the same direction as not to create air pockets between the two surfaces.
- Several presses: After placing the laminate, press it several times to give a full contact of the two surfaces.
Step 5: Masking and Final Touches
- Application of masking tape: In after pressing, masking tape is applied in 2-inch intervals at the edges of bonded laminate to hold and stabilize the laminate during the drying period.
- Check for air pockets: Using a tapping or sound test. Let’s imagine we have our bubbles, so we repeat the procedure again by pressing in all parts of the print to drive the air pockets out before setting the glue.
Step 6: Drying and Curing
- On flat surfaces: joined surfaces should be pressed for 16 to 24 hours in order to have close contact and bonding. To apply uniform pressure, use five plywood sheets with at least an area of 8×4 feet and a thickness of 12mm, as well as 100-210 kg of weight, evenly distributed over the surface.
- For vertical surfaces: Keep application areas smaller than 16 square feet. Press manual wet cloth for 5-10 minutes to ensure proper bonding.
2. How to Prevent Bubbles When Bonding Plywood and Laminate
Bubbles are one of the most common problems involving bonding laminate to plywood. Make sure you take precautions to prevent it from happening when you are bonding laminates to plywood. Knowing the causes for bubbles and how to avoid them will save you a lot of precious time and effort. The following are some common causes of bubbles and how to prevent them:
Cause 1: High Humidity and Laminate Expansion
Laminate expands in wet environments, and this is worse concerning width. Bubbles will form due to this. This happens often during monsoon seasons or in places with heavy humidity.
Solution: Limit the width to 2 feet and the length to 8 feet to minimize expansion. Let adjacent laminate sheets have a 2mm gap to accommodate expansion. Succeeding sheets should not be overlapped.
Cause 2: Pressure Applied Improperly
If bonding pressure is not adequate, air can become trapped which will cause bubbles to form.
Solution: For horizontal installations, uniform pressure applied by a wet cloth followed by setting heavy weights according to the drying procedure. In vertical panels, strong manual pressure is applied using a wet cloth from the center and outwards on the sides. Very thin laminate (<0.8mm) requires even more extreme care in handling and pressure.
Cause 3: Mis-cutting of Laminate
Poor cutting of the laminate, especially against the grain, can create stress points that allow the formation of bubbles.
Solution: Always cut the laminate in a longitudinal direction with the grain. In 90° cuts, pre-drill holes to a diameter of 2-3mm at the corners in order to avoid material cracking and creation of tensile stress.
Cause 4: Plywood with High Moisture Content
If there is too much moisture in plywood then when it gets exposed to the adhesive it may swell and bond unevenly with bubbles that come up as it dries and shrinks.
Solution: Ensure that the plywood has less than 12% moisture at all times. If the moisture level is more, then one can reduce the moisture using blowers with hot air, halogen lamps, or expose the plywood to direct sunlight.
Cause 5: Wall Seepage
Direct contact between plywood and a damp or seeping wall can cause bubbles through moisture migration.
Solution: Install a water-resistant adhesive or laminate backing on the back of your plywood furniture. A cement backing will also prevent moisture from traveling forward.
Cause 6: Rolling Failure of the Laminate
Rolling the laminate improperly sometimes may result in a “spring-back” effect; consequently, it creates bubbles later.
Solution: Apply laminate in the correct “U” shape, and place decorative side in. This will push laminate to lay down during pressing, thus reducing bubbles forming.
Cause 7: Over-opening
Bonding after the recommended open time of the adhesive may lead to improper bonding with a higher chance of bubbles.
Solution: Open as follows for varied climatic conditions
Summer: 6-10 minutes
Monsoon/Winter: 8-12 minutes
Cause 8: Spreading too thin
Wrong type or spreading method may lead to adhesive layer, creating bubbles.
Procedure: Use plastic notched spreader for smooth spreading of glue. Avoid laminate pieces, brushes, and knives.
3. How to Remove Bubbles in Plywood-to-Laminate Bonding
At any time, you may end up having some bubbles stuck up despite all your efforts at bonding. Here is how to remove the bubbles:
For Small Bubbles:
- Prick a small hole on it using a thin pointed nail.
- Pass hot air (at 70°C) with a hot air blower such as Black & Decker at the distance of 6-8 inches from the surface.
- Apply the bubble using a wet cloth in a semi-circular motion, applying much pressure necessary to flatten out the area.
For Large Bubbles:
- Drive two small holes by using a nail, one at the top and one at the bottom of the bubble.
- Dilute the adhesive and inject it into the bubble from a syringe.
- Press the bubble with a damp cloth, squeeze out excess adhesive at the bottom hole and allow it to dry under pressure until it is re-bonded.
Conclusion
All laminate bonding jobs you’ll do should now come out with a professional, bubble-free finish following best practices and keeping away from common pitfalls. For long-term quality outcomes, important aspects include proper surface preparation, proper application of adhesive, pressure techniques, and moisture control. Even if some bubbles form, using the proper procedures to eliminate them will help restore the integrity and appearance of the surfaces bonded.